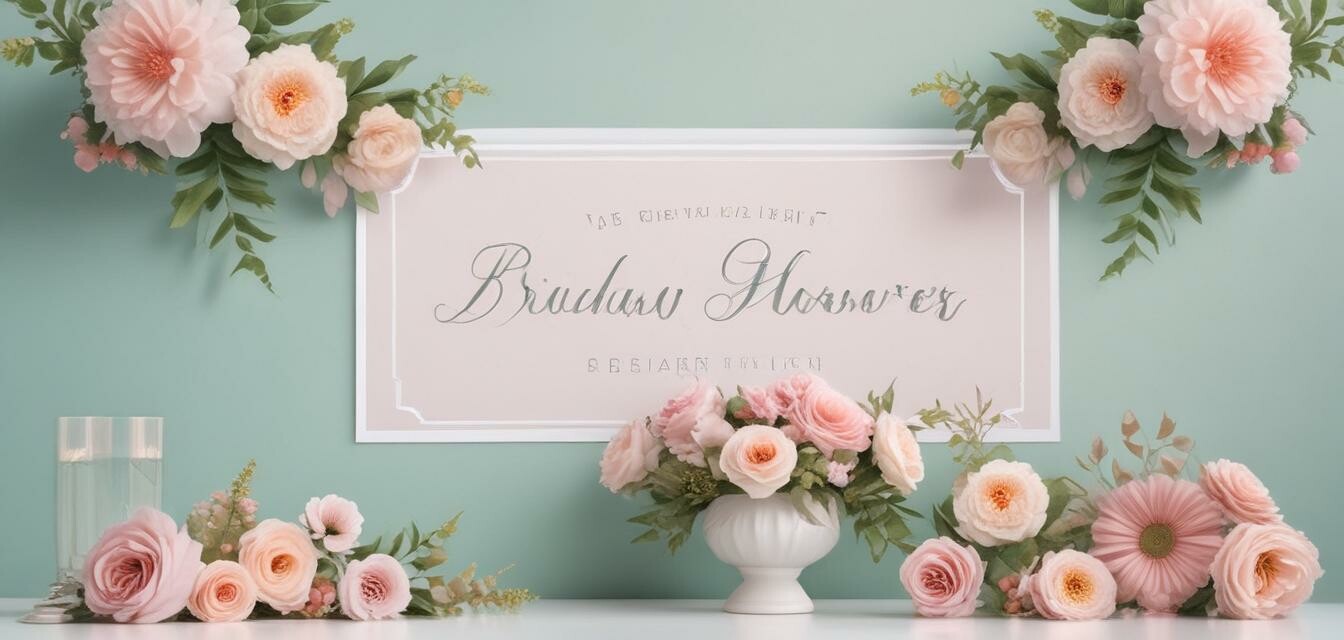
Personalized Bridal Shower Banners: A DIY Guide
Key Takeaways
- Creating personalized banners adds a unique touch to your bridal shower decorations.
- Materials needed can be easily sourced and are often affordable.
- Follow simple steps and creative tips to design a banner that reflects the theme of your celebration.
When planning a memorable bridal shower, one of the best ways to enhance the celebration is through custom decorations, and nothing beats the charm of a personalized banner. In this DIY guide, we will walk you through the step-by-step process of creating beautiful banners that truly make your event special.
Why Choose Personalized Banners?
Personalized banners serve several purposes at bridal showers:
- Unique Decoration: A custom banner showcases the bride's personality.
- Welcomes Guests: A banner creates a warm atmosphere as guests arrive.
- Thematic Statement: It helps set the tone and theme of the bridal shower.
Materials Needed
Before you start your DIY project, gather the necessary materials. Here’s a simple table to help you organize what you need:
| Materials | Description |
|---|---|
| Cardstock or Banner Paper | Choose colors that match your bridal shower theme. |
| String or Ribbon | For hanging the banner. |
| Scissors | For cutting out your banner pieces. |
| Glue or Tape | To secure the letters and decorations. |
| Markers or Paint | For adding personal touches and designs. |
| Stencils (optional) | For creating professional-looking lettering. |
Step-by-Step Instructions
Now that you have everything ready, let's dive into the process of creating your personalized banner.
- Decide on a Theme: Determine the theme and color scheme for your bridal shower.
- Choose Wording: Common phrases include "Welcome," "Bride's Name's Shower," or "Love is in the Air."
- Cut Your Pieces: Cut your cardstock into the desired shapes (triangles, rectangles, etc.) that will hold your letters.
- Create Letters: Use markers or stencils to write your chosen words on each piece. Get creative with fonts and designs!
- Decorate: Add embellishments like flowers, glitter, or lace to enhance the visual appeal.
- Assemble: Arrange your pieces on a flat surface and attach them to your string or ribbon.
- Hang Your Banner: Find the perfect spot at the venue to display your lovely creation.
Tips for a Successful DIY Banner
DIY Decoration Tips
- Practice your lettering on scrap paper.
- Keep your design simple for a clean look.
- Incorporate the bride’s favorite colors or motifs for a personal touch.
- Consider double-sided hanging if you have space in both directions.
Examples of Banner Themes
To further inspire your creativity, here are a few popular themes for bridal shower banners:
| Theme | Description |
|---|---|
| Floral | Incorporates flower patterns and pastel colors, great for outdoor events. |
| Rustic | Use burlap, twine, and wood finishes for a cozy feel. |
| Modern | Bold colors and geometric shapes make a statement in contemporary decor. |
| Vintage | Incorporate lace, soft hues, and elegant fonts for a timeless look. |
| Beach | Bright colors and ocean themes reflect a relaxed seaside vibe. |
Remaining Budget-Friendly
Creating personalized banners doesn’t mean you have to spend a fortune. Here are a few tips to keep costs down:
- Use Recycled Materials: Old newspapers or leftover materials from other projects can be repurposed.
- Buy Supplies in Bulk: Purchase materials like cardstock and string at a discount store.
- Get Creative with DIY: Handmade items not only save money but also add a unique feel to your decorations.
Final Thoughts
Making personalized banners for a bridal shower is not only simple but also a rewarding project. It allows you to add a personal touch that enhances the event's atmosphere while staying within budget. If you’re interested in learning more about other DIY projects, check out our DIY Decoration Tips blog category for creative ideas and tutorials.
Pros
- Affordable and customizable.
- Easy to create with common materials.
- Personalization that reflects the bride's style.
Cons
- Requires time and effort for best results.
- May need crafting skills for elaborate designs.


