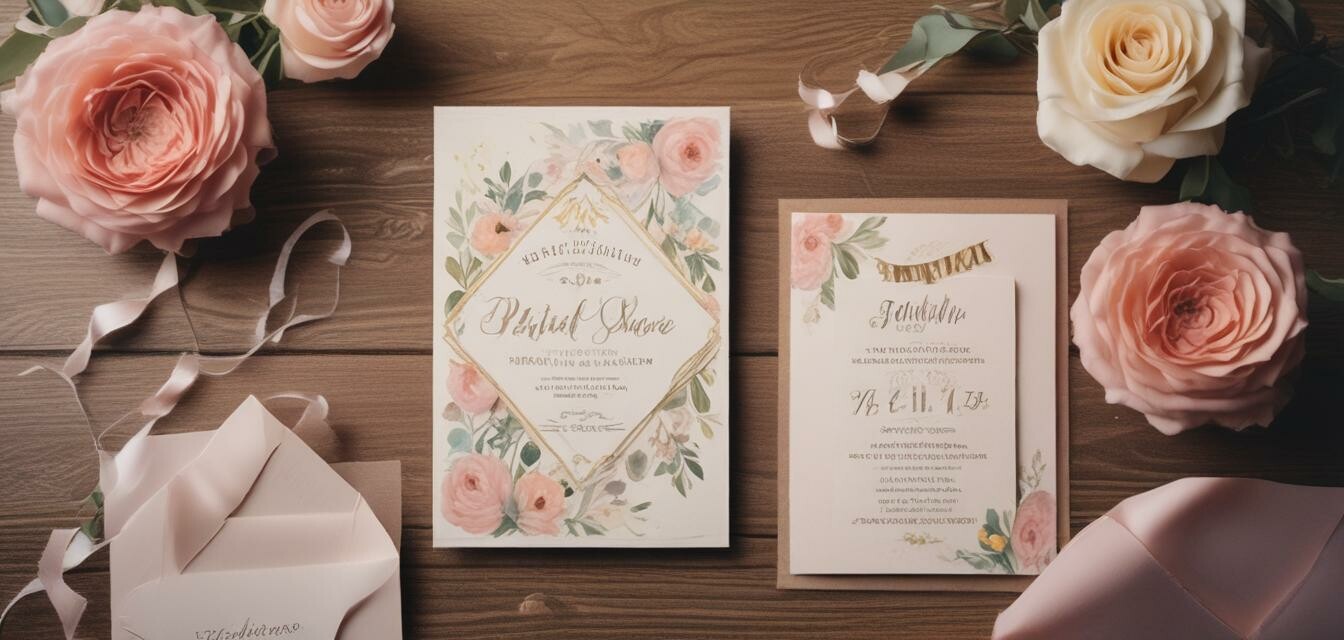
Crafting Your Own Bridal Shower Invitations
Key Takeaways
- DIY invitations are cost-effective and customizable.
- Select a theme that matches your bridal shower decor.
- Include essential details: date, time, location, and RSVP info.
- Use quality materials for a professional finish.
- Incorporate decorative elements like ribbons and stickers.
Creating stunning DIY bridal shower invitations not only adds a personal touch to your celebration but also allows you to express your creativity. Whether you’re looking to save money or simply enjoy the art of crafting, this guide will walk you through the process of designing invitations that impress your guests and reflect the theme of your bridal shower.
Choosing Your Theme
The first step in crafting your invitations is to decide on a theme that complements your bridal shower decor. Some popular themes include:
- Floral
- Vintage
- Elegant
- Rustic
- Beach
Matching Colors and Designs
Once you’ve chosen your theme, select colors and designs that align with it. Consider incorporating elements such as:
- Color palettes that reflect the bridal shower setting
- Floral motifs that resonate with your centerpieces and decor
- Patterns that echo tableware or decorations you've chosen
Essential Information to Include
Your invitations should provide guests with all the necessary details. Be sure to include:
- Date and time of the shower
- The location of the event
- Any additional information or theme (e.g., dress code)
- RSVP details, including a response deadline
Materials You'll Need
Gathering the right materials is crucial for crafting beautiful invitations. Here’s a list of items you’ll need:
| Material | Purpose |
|---|---|
| Cardstock | Base for the invitation |
| Printer | For printing designs and text |
| Scissors or Paper Cutter | For cutting the invitations to size |
| Envelopes | For mailing the invitations |
| Decorative Elements | Such as ribbons, stickers, or stamps |
Designing Your Invitations
Now comes the fun part! Here’s how to go about designing your invitations:
- Choose a template: Look online for free templates that match your theme, or create your own from scratch.
- Add your text: Write a warm invitation that captures the excitement of the event.
- Incorporate visuals: Add floral designs, borders, or images that complement your theme.
- Print on high-quality cardstock: Ensure that the colors appear vibrant and the text is clear.
- Personalize each invitation: Add a handwritten note or sign your name for a special touch.
Tips for Mailing Invitations
Here are some essential mailing tips:
Beginner's Section
- Send your invitations at least 3-4 weeks in advance.
- Use decorated envelopes that match your theme.
- Consider using a mailing service or post office to ensure they’re properly stamped and addressed.
- Keep track of RSVPs using a simple spreadsheet or checklist.
Final Touches
Don’t forget the final touches! Adding decorative elements can elevate your invitations:
- Use matching ribbon to tie a bow around the invitation.
- Include a small, themed favor inside the envelope as a preview of the bridal shower.
- Seal the envelope with a sticker or wax seal for an elegant finish.
Pros
- Cost-effective compared to buying pre-made invitations.
- Completely customizable to your personal style.
- Provides a creative outlet and fun activity.
Cons
- May require more time to design and craft.
- Potential difficulty in achieving the professional look.
- Initial costs for materials can add up.
Conclusion
Crafting your own bridal shower invitations is a rewarding way to add a personal touch to your celebration. This DIY approach allows you not only to save money but also to express your creativity. By following these tips and steps, your invitations will surely set the tone for a memorable bridal shower.
For more tips and inspiration for your bridal shower, check out our other resources in the DIY Decoration Tips category!


